API keys let scripts and external systems read or write to your workspace without a user session. They’re how the public API at api.owlish.bot/docs authenticates against your data.
Create an API key
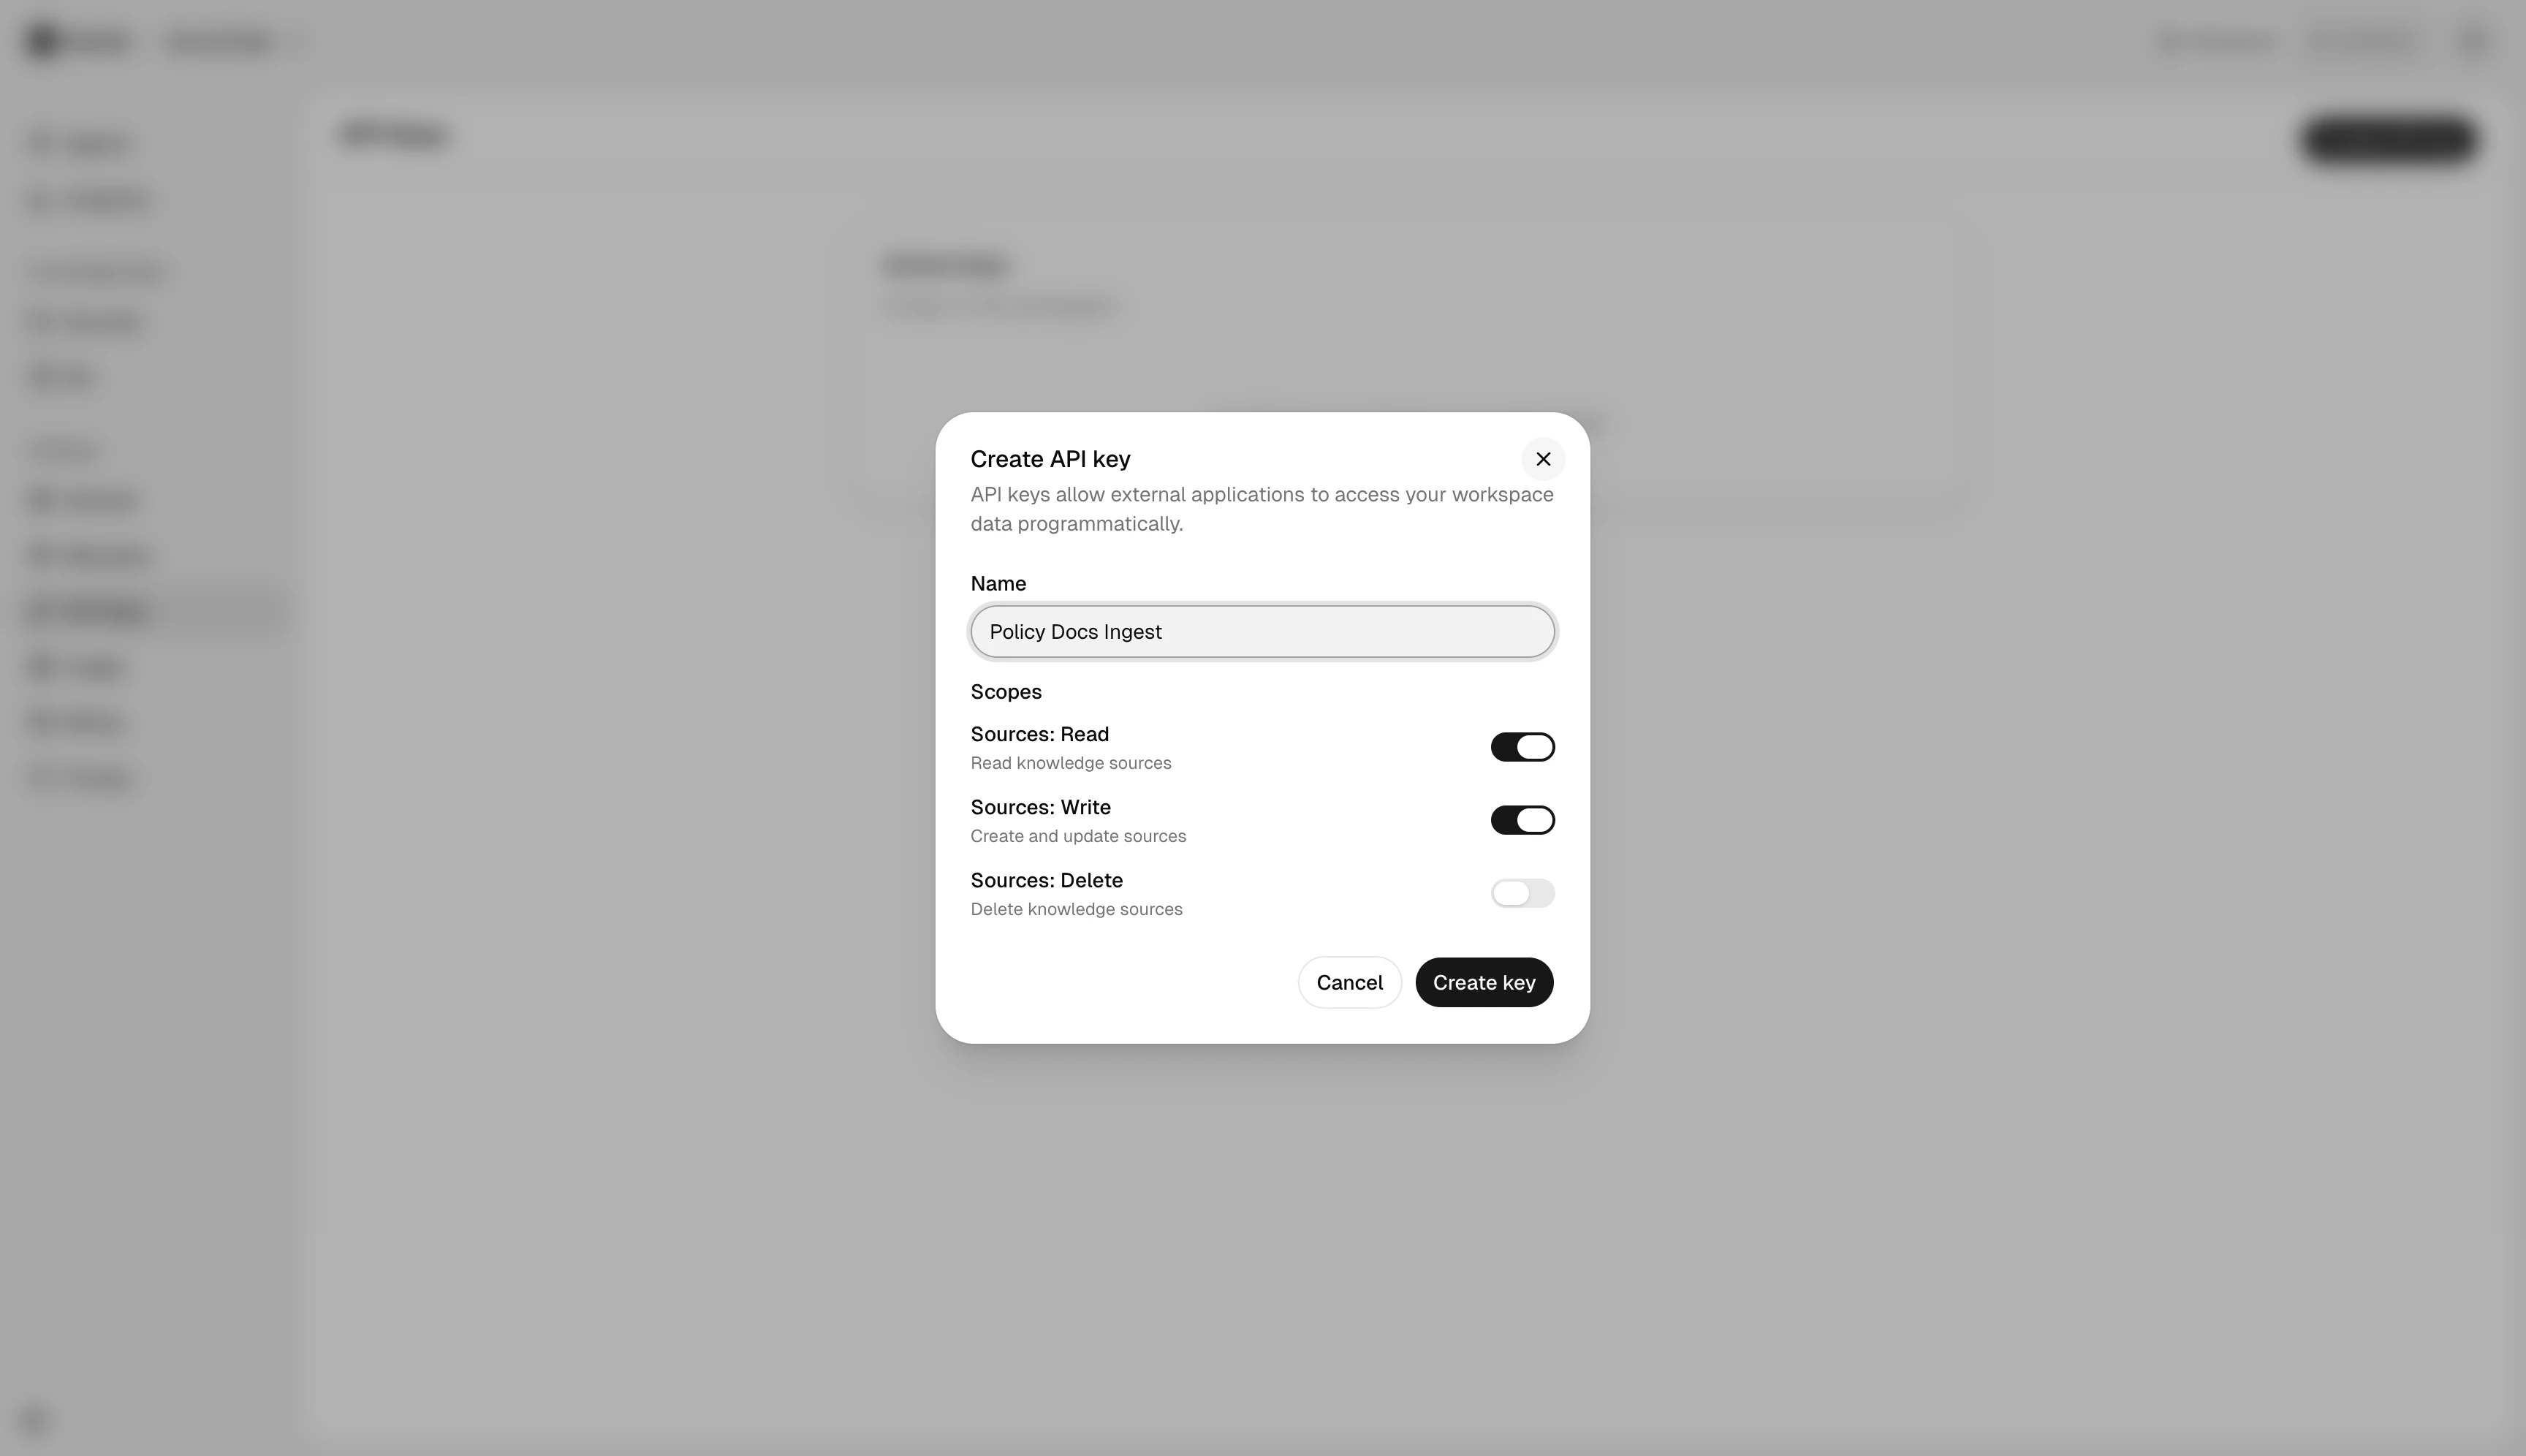
In Settings → API keys, click Create API key. The dialog asks for:
- Name — descriptive, what the key is for. Visible to admins on the keys list.
- Scopes — granular permissions:
- Sources Read — list and inspect knowledge sources.
- Sources Write — create and update sources.
- Sources Delete — remove sources.
Pick the smallest set of scopes the integration needs. You can always create another key with broader scopes later.
After creation
The full key is shown once in the post-create dialog. Copy it immediately into your secrets manager — you can’t view it again. The keys list afterwards only shows a prefix (e.g., sk_live_abc…) for identification.
Manage active keys
Each row shows the name, key prefix, scopes, last-used timestamp, and creation date. To revoke, click the row → Revoke. Revoked keys move to the separate Revoked Keys table for audit; they can’t be reactivated.
Best practices
- Rotate keys periodically. The “Last used” timestamp helps spot keys that aren’t being used and can be cleaned up.
- One key per integration. Don’t share a single key across multiple systems — you lose attribution and can’t revoke without breaking everything.
- Never commit keys to source control. Use environment variables or a secrets manager.
Next steps
- api.owlish.bot/docs — the API reference.
- Members — for human access via the console.