By the end of this walkthrough you’ll have a working agent grounded in your own content, ready to drop on your site. The new-agent wizard does most of the heavy lifting — paste a URL, pick what kind of agent you want, and Owlish discovers your brand and primes the knowledge base for you.
You’ll need:
- An Owlish account. New accounts can create one Free workspace without a card.
- A website you own (or can crawl) for the agent’s first knowledge source.
Step 1 — Paste your website and pick a use case
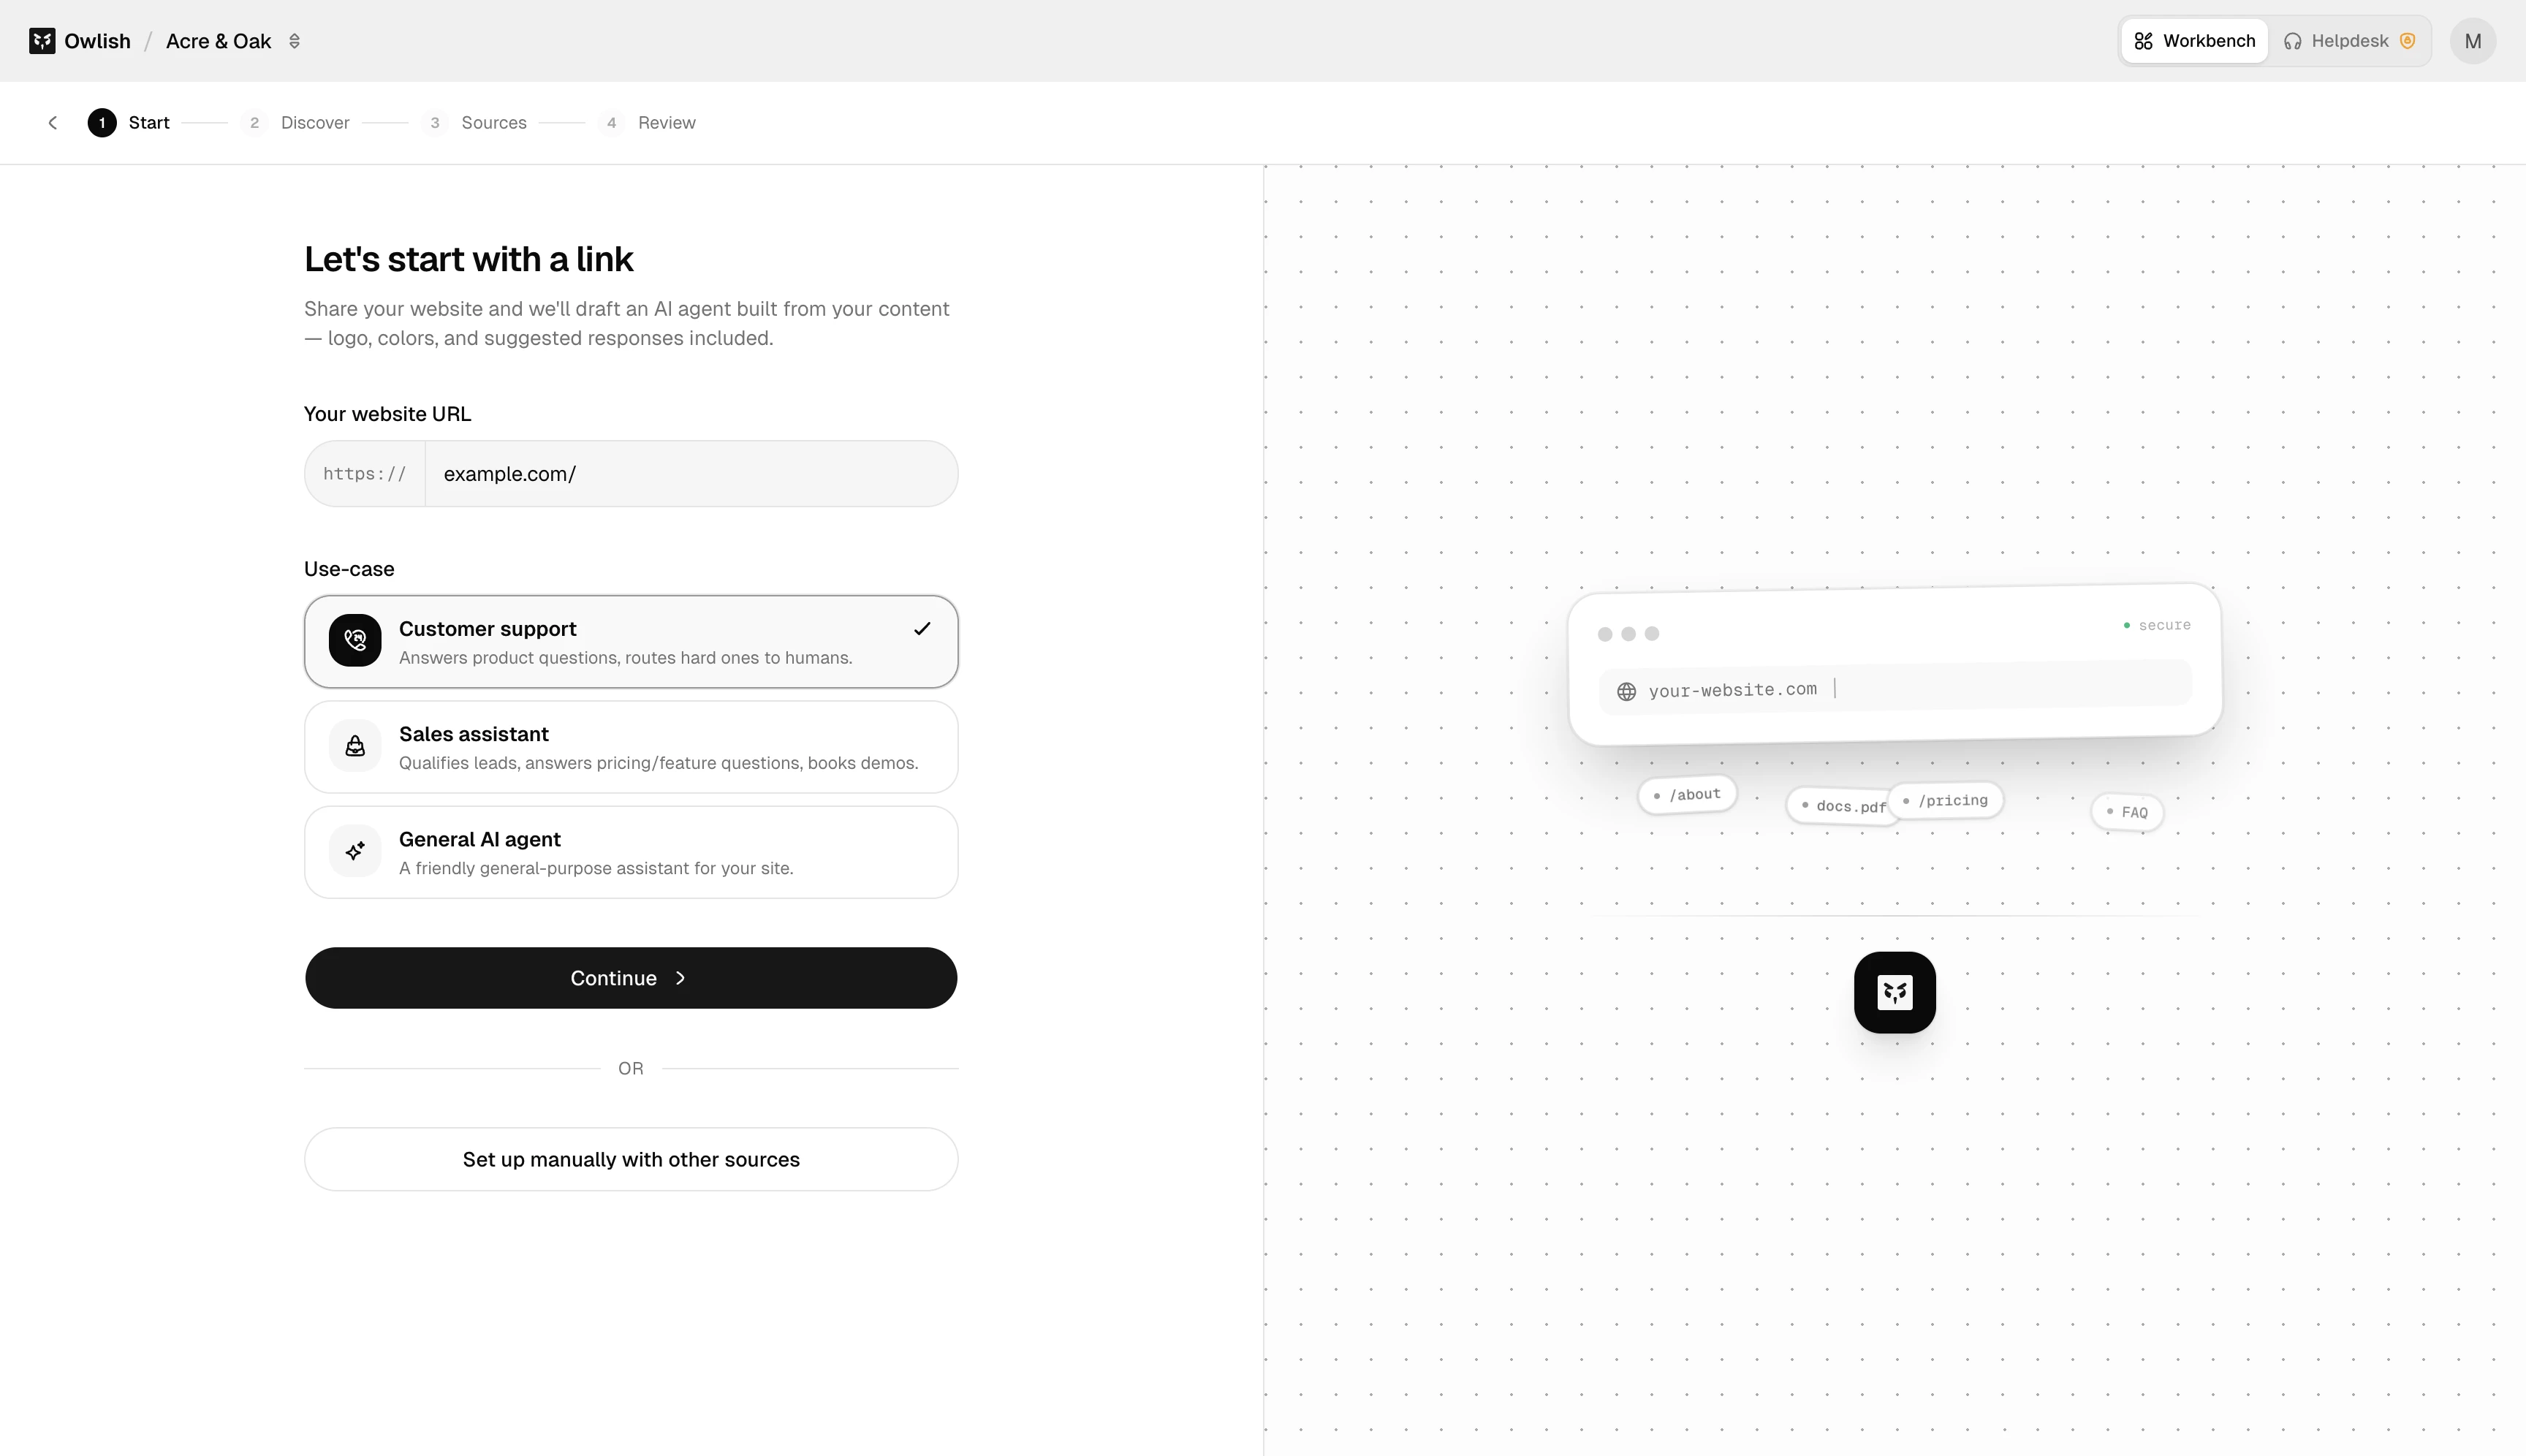
Sign in at console.owlish.bot. The first time you log in, Owlish creates your workspace and drops you on the new-agent wizard. Step 1 asks for two things:
- The URL of the website the agent should learn from.
- A use case — Customer Support, Sales, Internal Helpdesk, etc. The use case applies a sensible bundle of defaults so you don’t start from a blank canvas.
Step 2 — Discovery
While you wait a few seconds, Owlish fetches the site and pulls out a starter pack: brand metadata, a logo, a primary color, and a list of internal links it could ingest. You don’t have to do anything here — the wizard auto-advances when discovery finishes.
Step 3 — Sources
Step 3 lets you confirm or extend the knowledge base before the agent is created. Three source types:
- File — upload PDFs, DOCX, etc.
- Website — the URL from Step 1 is already added; you can add more.
- Direct Response — paste a question and a canonical answer. Best for FAQ-style content that doesn’t live anywhere else yet.
You don’t have to add anything here; the website from Step 1 is enough to get started. You can come back to the Knowledge Base any time.
Step 4 — Review
Confirm the basics: agent name (defaults from the discovered brand), logo (auto-fetched, replaceable), and primary color (auto-detected from the site). These are starting values — you can change all of them later from the agent’s Brand tab.
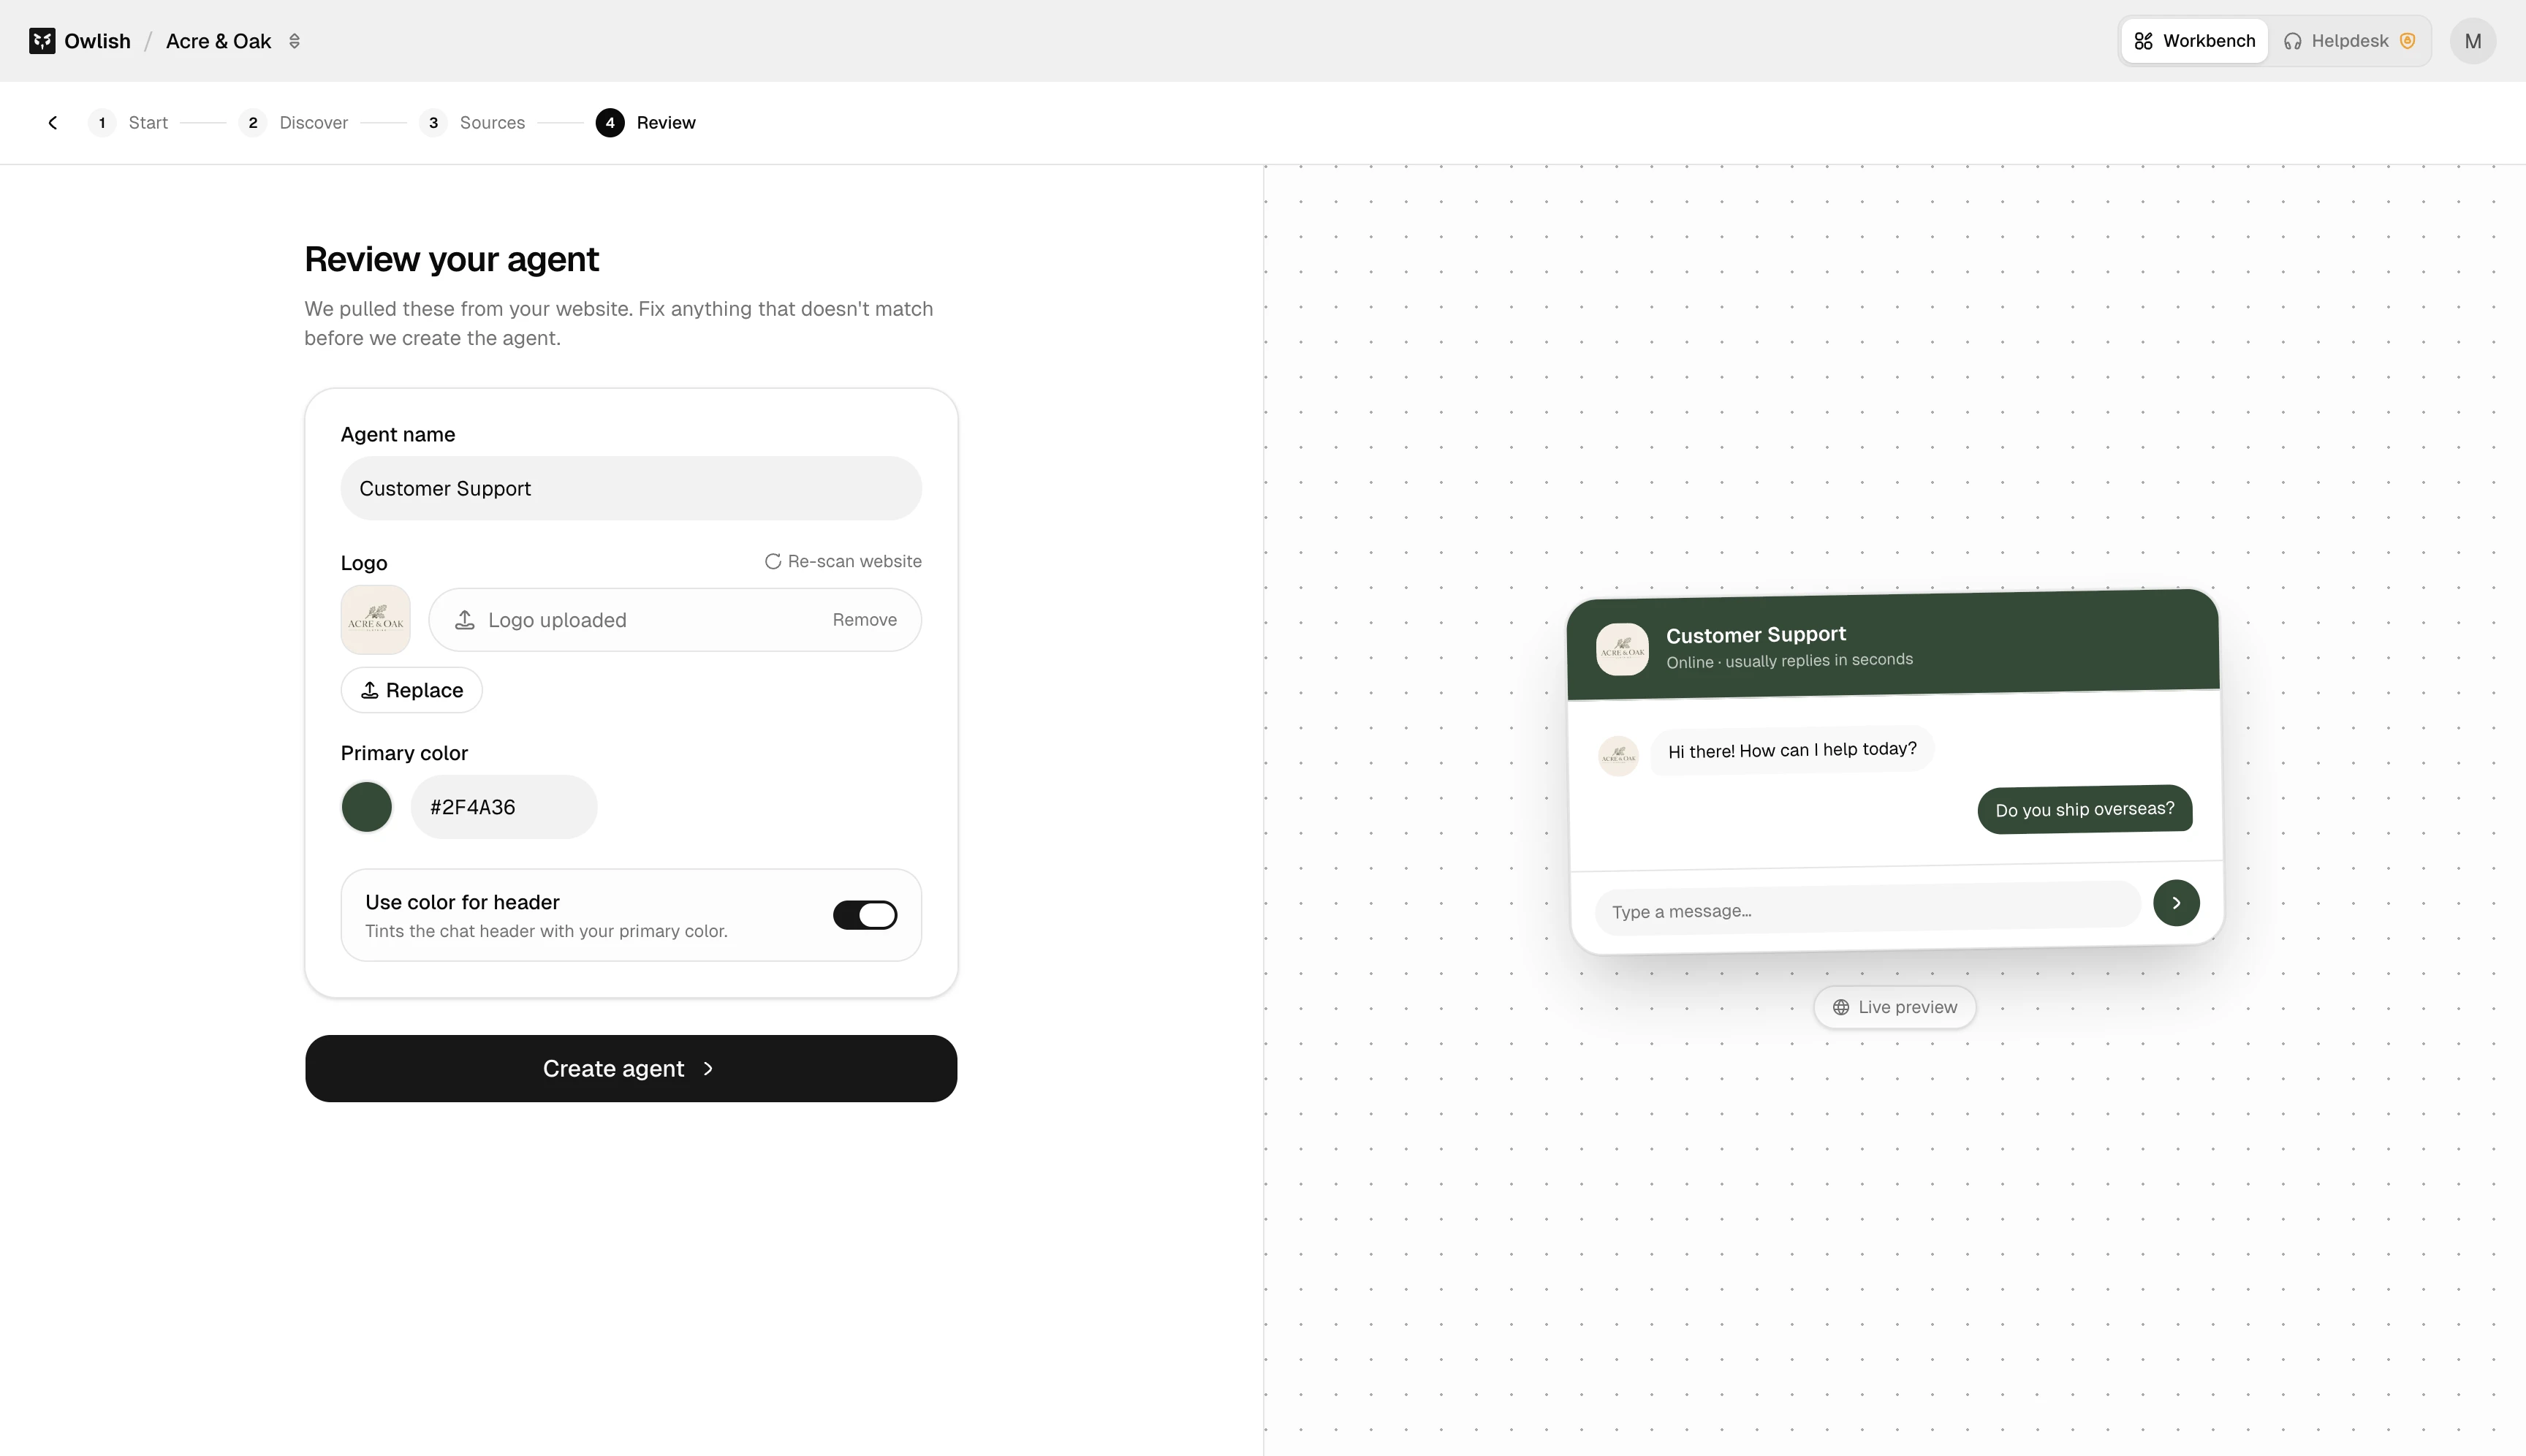
Click Create.
Step 5 — You’re in the Playground
Owlish drops you on the agent’s page, which is structured as a Playground — a live chat with the agent on one side and four configuration tabs on the other:
- Content — what the visitor sees: greetings, suggested questions, prechat form, message placeholder.
- Brand — theme, profile picture, launcher icon and color, button label.
- Behavior — toggles like prechat enable/require, stream responses, attachments, feedback collection.
- Model — model picker, temperature, and the Instructions field (the agent’s system prompt / persona).
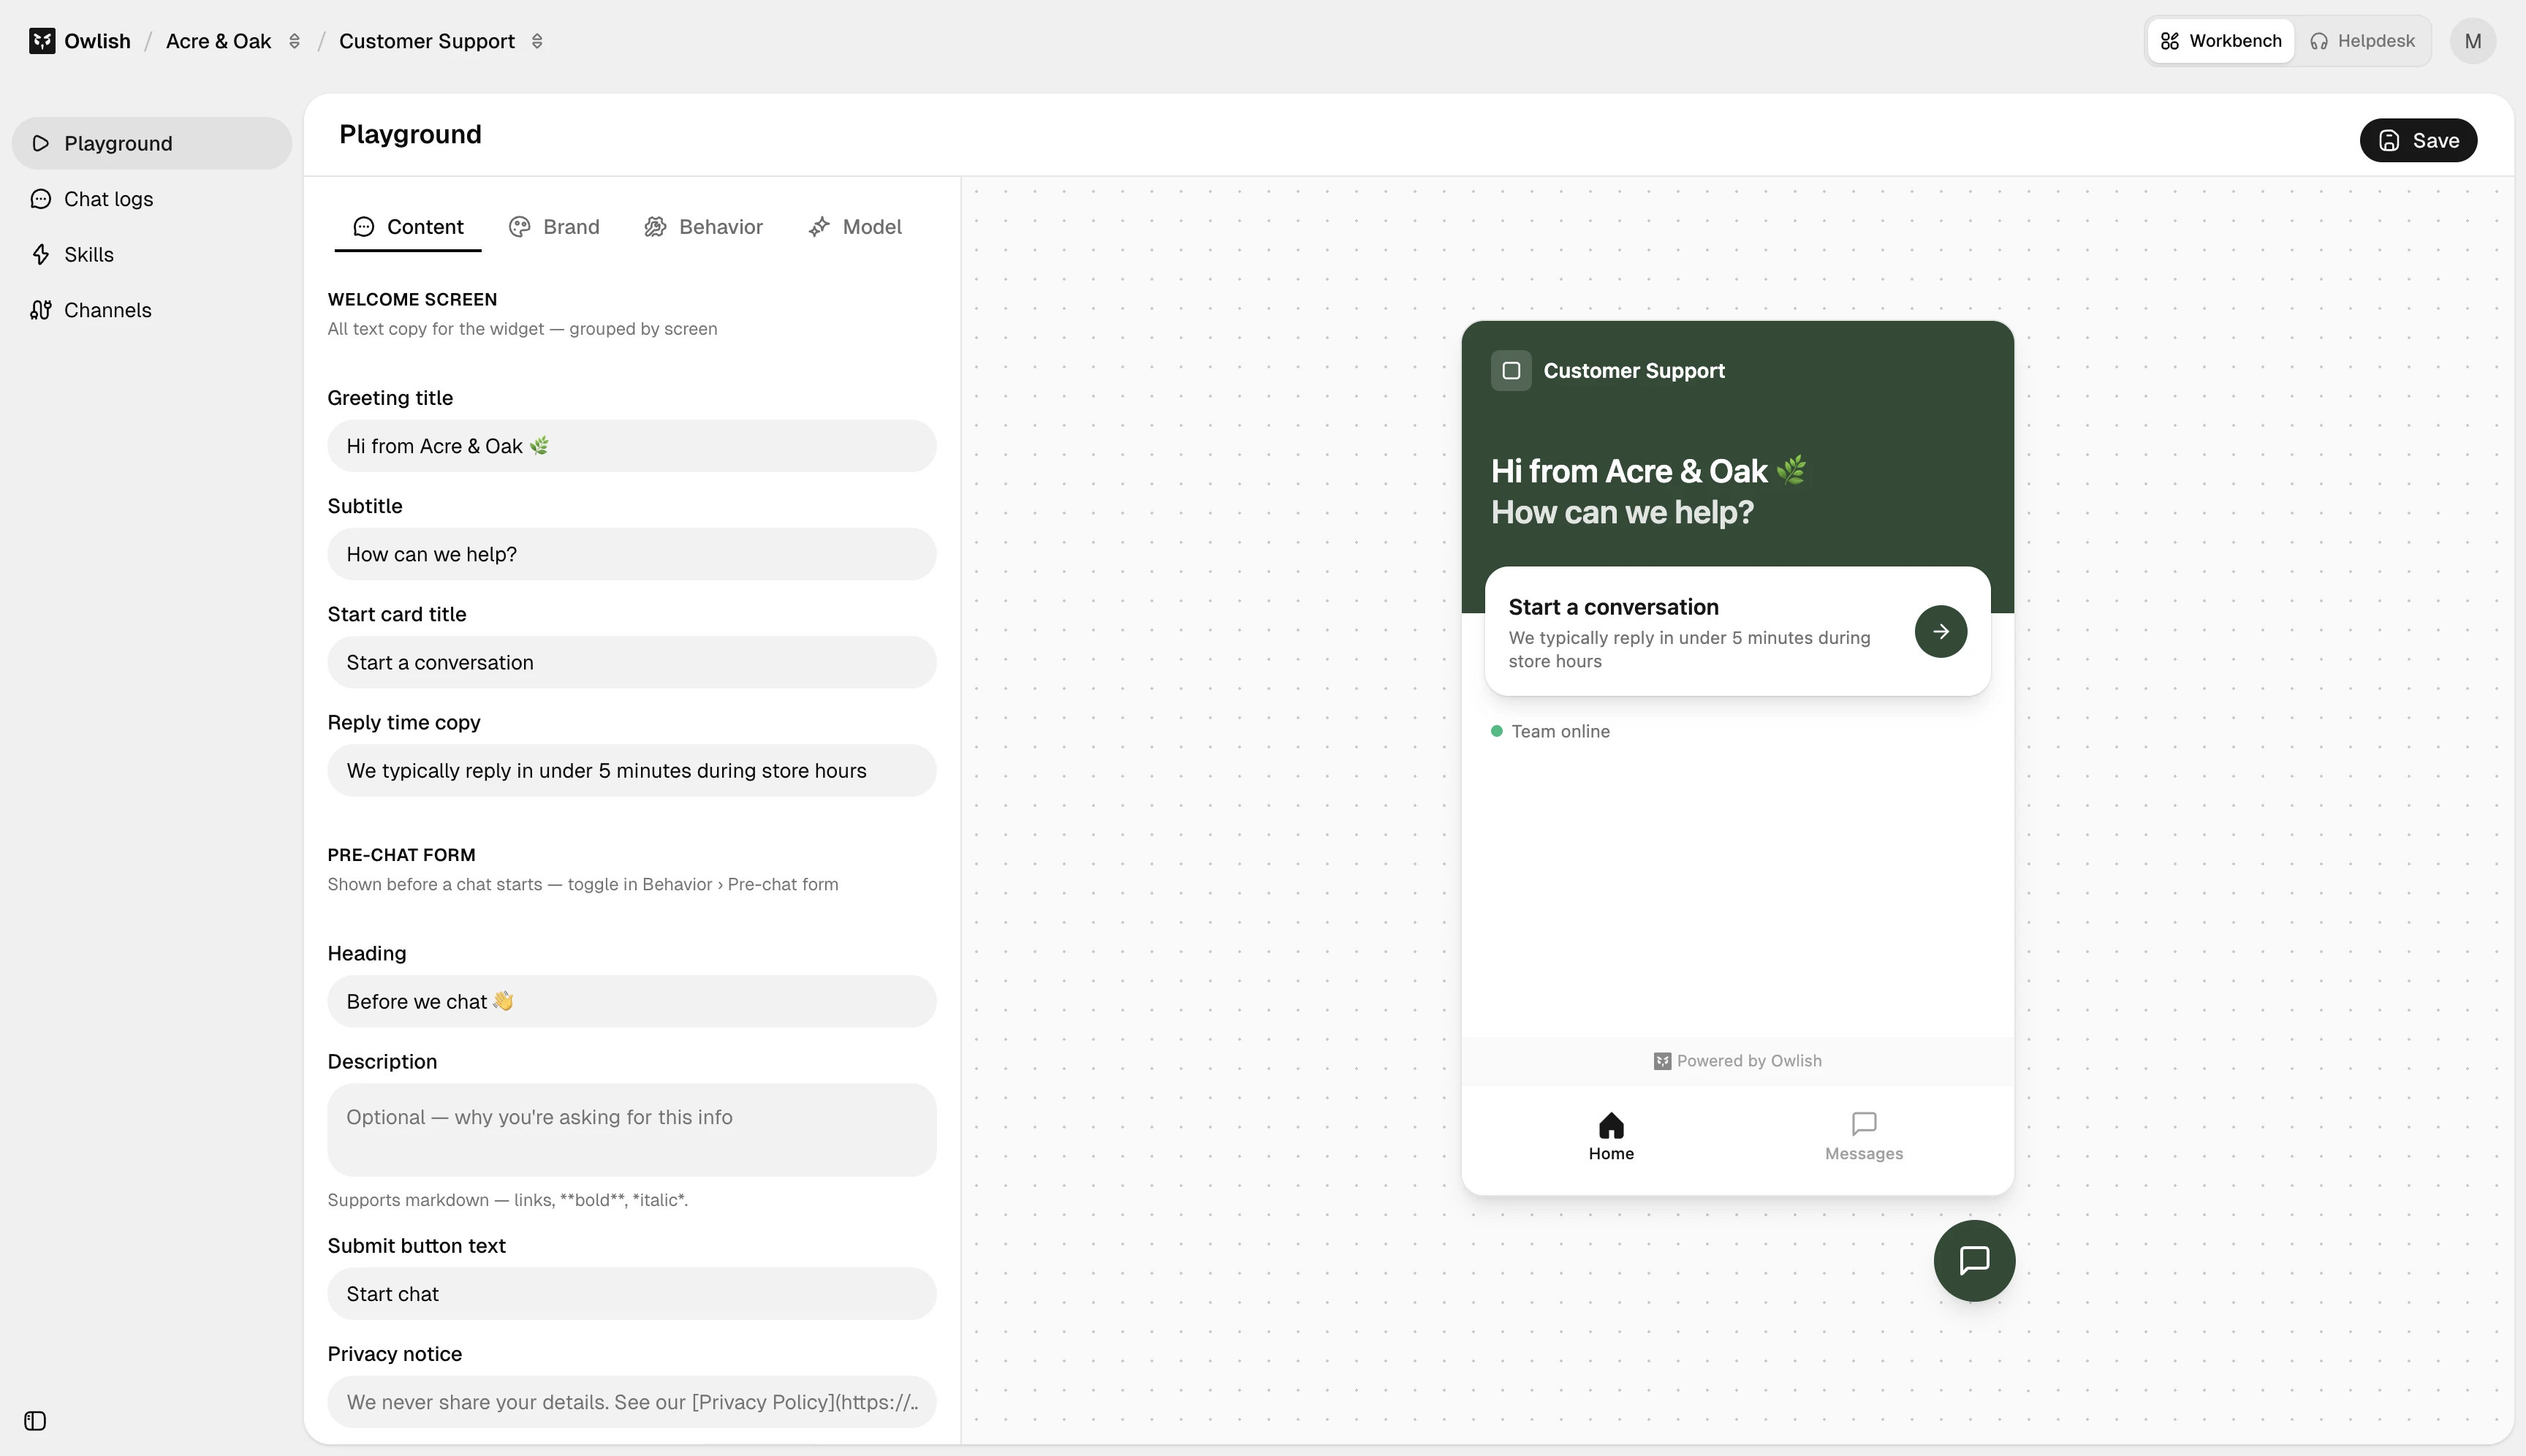
Try a few questions in the chat panel. Pay attention to whether answers cite a source (every grounded answer should), whether the tone matches what you’d want, and whether the agent refuses cleanly when it doesn’t know. To shape the tone or restrict scope, edit the Instructions on the Model tab.
Step 6 — Deploy across channels
Knowledge, branding, and channels live on separate pages, accessible from the agent’s sidebar:
- Knowledge Base —
/workbench/knowledge-base/sources. Add or sync sources here. - Channels —
/workbench/agents/[agent]/channels. Connect the web widget, configure allowed domains, and connect the supported chat or messaging channels for your plan.
Open Channels and configure the Web widget first — it’s included in every plan and gives you the embed snippet for your site. Slack, Microsoft Teams, Google Chat, WhatsApp, Instagram, Messenger, and Telegram are available on Growth and above — WhatsApp, Instagram, and Messenger connect in one click, and Telegram connects with your own bot.
What’s next
You have a working agent. From here, the most common next steps are:
- Customize the widget — most of this is on the agent’s Content / Brand / Behavior tabs.
- Add more knowledge — beyond the auto-crawled site.
- Connect Slack or Microsoft Teams for an internal channel (paid plan).
- Set up human handoff so an operator can step in.
- Invite a teammate to share the workspace.